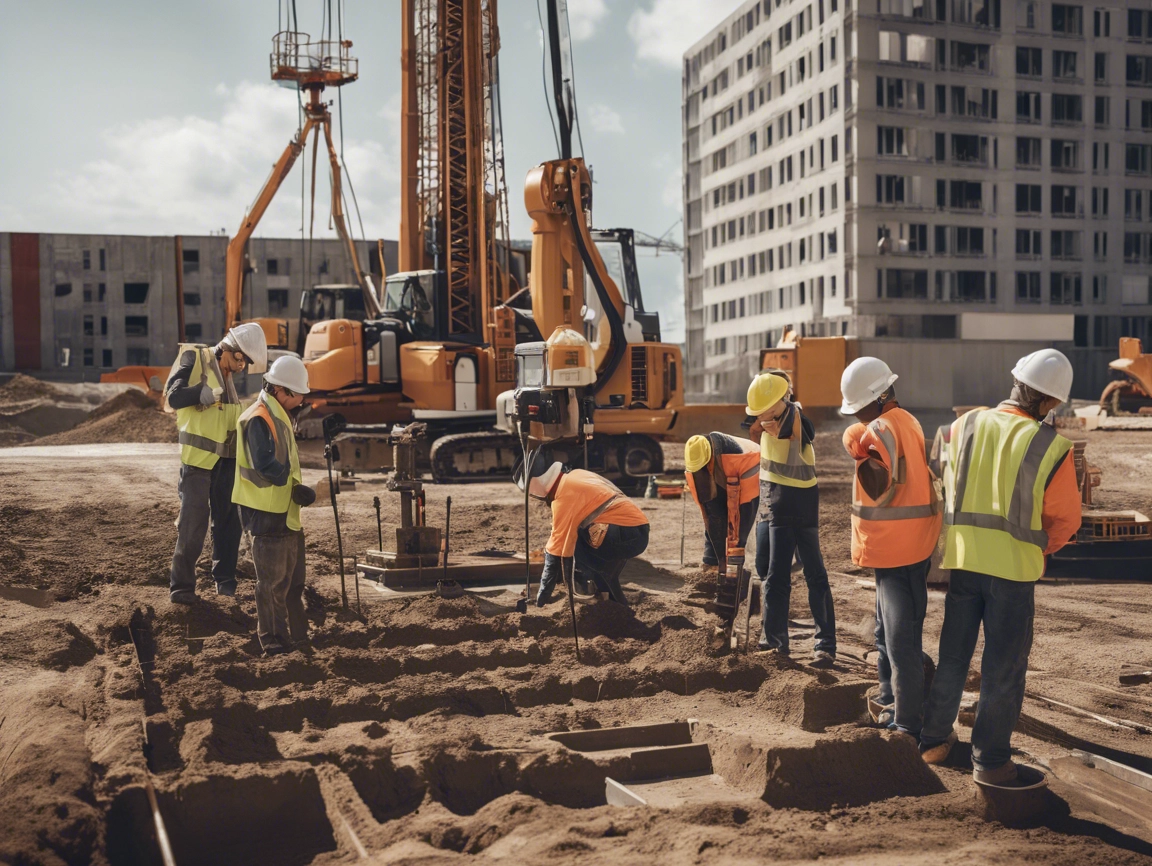
Essential Guide to Soil Testing for Safe and Stable Home Construction
Soil testing is a critical first step in any construction project, ensuring the land can safely support a building’s foundation. By conducting soil tests early on, builders reduce future structural risks and costs. Here’s why soil testing is so important and a simplified step-by-step process for how it’s conducted.
Why Soil Testing Matters
First and foremost, soil testing verifies that the soil can bear the load of the structure, significantly reducing the chances of settling and shifting. Here are key reasons why it’s essential:
- Ensures Stability: Soil testing first determines the soil’s load-bearing capacity, making sure it can handle the weight of the structure. This minimizes risks of settling, shifting, and cracking in the future.
- Prevents Structural Damage: By identifying potential issues like moisture content and soil type, soil testing helps prevent problems such as cracking and uneven settling, which could otherwise damage the building.
- Improves Site Safety: Additionally, soil testing meets safety and regulatory standards, helping avoid serious hazards like erosion, landslides, and chemical corrosion over time.
- Guides Foundation Design: Finally, testing results guide engineers in choosing the best foundation type and necessary soil adjustments, ensuring a stable, long-lasting structure.
Step-by-Step Soil Testing Procedure
Now, let’s look at the typical soil testing process, which includes site inspection, sampling, field testing, and analysis.
- Site Inspection
Engineers start with a site assessment to understand the terrain, soil testing needs, and structural requirements. This step also involves marking sampling locations and determining the required testing depth. - Soil Sampling
Next, samples are collected from various depths using equipment like hand augers, drilling rigs, or rotary drills. Sampling soil at different depths provides a comprehensive picture of the soil’s characteristics and consistency. - Field Testing
After collecting samples, on-site field tests provide immediate insights into soil behavior:- Standard Penetration Test (SPT) and Cone Penetration Test (CPT) measure soil resistance and load-bearing capacity.
- Moisture Content Test checks natural moisture levels, helping engineers understand if the soil may expand or shrink in different conditions.
- Laboratory Analysis
Collected samples are then analyzed in detail in a laboratory setting:- Particle Size Distribution helps determine the soil composition, such as sand, silt, and clay proportions.
- Atterberg Limits Test measures the soil’s plasticity, crucial for stability.
- Compaction and Proctor Tests ensure the soil’s optimal density.
- Chemical Analysis reveals pH levels and any corrosive elements that may affect foundation materials.
- Analysis and Reporting
Once the tests are complete, engineers compile the results to understand the soil’s load-bearing strength, moisture levels, and compaction quality. This analysis guides decisions on foundation type and any necessary soil treatments. - Foundation Recommendations
Finally, based on the analysis, engineers recommend the most suitable foundation type and any required stabilization methods, ensuring the structure’s long-term safety and stability.
In short, soil testing is invaluable for uncovering the unique characteristics of the soil beneath the site, allowing engineers to design foundations that enhance the safety, durability, and longevity of the building.
For more detailed information on soil testing procedures, you might link to:
- National Society of Professional Engineers – Resources on soil testing standards and practices.
- American Society of Civil Engineers – Additional soil testing guides and best practices.
- BIS – Link


